Received my replacement parts package from Van's. Got to work right away and took my time this round and made sure it was perfect.
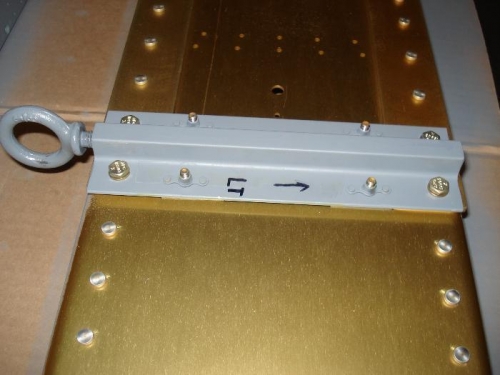
Drilled the pilot hole and bolted the tie-down after squaring it up. Used some heavy duty clamps to make sure it didn't move this time. Drilled and bolted as I went along.
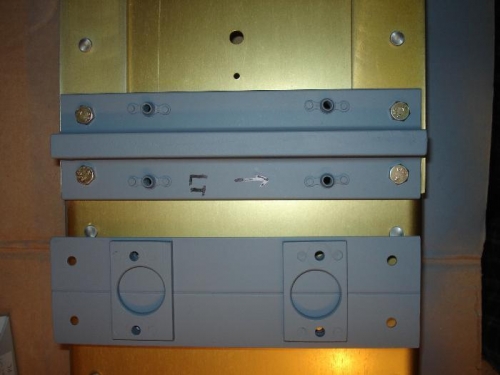
Spacers were also drilled and bolted. Cleaned, marked and primed. I rivted the nutplates to the assembly and tested both tie-downs for fit. P E R F E C T !
I then grabbed my tap and die kit and secured the tie-down into the vice. Marked one inch on the tap and went to work with the oil. Tested with the tie-down ring from Van's and all is good.
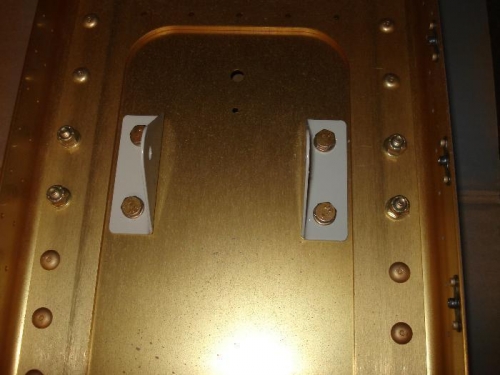
Grabbed the hardware and secured the assembly to the spar and also secured the bellcrank brackets. I will torque and seal the assembly down later as I will be removing a bellcrank bracket in the future to run a bracket for the Safeair pitot lines so they don't interfere with the bellcrank.